Install ORACLE 9i R2 on RHEL3
192.168.15.114
255.255.0.0
192.168.0.1
168.126.63.1
● Engine 생성전
- oracle 계정생성
[root@server114 root]# groupadd –g 5000 dba [root@server114 root]# useradd –g dba oracle [root@server114 root]# passwd oracle |
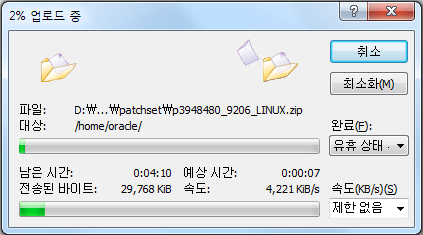
- winscp 이용해 필요한 설치파일 전송 (window: oracle9i install---> linux: /home/oracle 로 전송)
|
- 공유메모리 확인
[root@server114 root]# echo '2147483648' > /proc/sys/kernel/shmmax [root@server114 root]# vi /etc/rc.d/rc.local <- 공유메모리확인 내용 등록함. #!/bin/sh # # This script will be executed *after* all the other init scripts. # You can put your own initialization stuff in here if you don't # want to do the full Sys V style init stuff. touch /var/lock/subsys/local echo ‘2147483648’ > /proc/sys/kernel/shmmax |
- ship_9204_linux_disk 압축풀기
[root@server114 oracle]# cd /home/oracle/install [root@server114 install]# ll 합계 1570140 drwxr-xr-x 2 root root 4096 2월 17 15:52 font drwxr-xr-x 2 root root 4096 2월 17 15:52 patch drwxr-xr-x 2 root root 4096 2월 17 15:54 patchset drwxr-xr-x 2 root root 4096 2월 17 15:55 rpm -rw-r--r-- 1 root root 659577856 3월 25 2004 ship_9204_linux_disk1.cpio -rw-r--r-- 1 root root 646914048 3월 25 2004 ship_9204_linux_disk2.cpio -rw-r--r-- 1 root root 299722752 3월 25 2004 ship_9204_linux_disk3.cpio [root@server114 install]# [root@server114 install]# cpio -idmv < ship_9204_linux_disk1.cpio && cpio -idmv < ship_9204_linux_disk2.cpio && cpio -idmv < ship_9204_linux_disk3.cpio |
- RPM 설치 (rpm -Uvh compat-libgc*.rpm 하면 자동으로 순서대로 설치해줌)
[root@server114 font]# cd /home/oracle/install/rpm [root@server114 rpm]# rpm -Uvh compat-libgc* 경고: compat-libgcj-7.3-2.96.118.i386.rpm: V3 DSA signature: NOKEY, key ID db42a 60e 준비 중... ########################################### [100%] 1:compat-libgcj ########################################### [ 50%] 2:compat-libgcj-devel ########################################### [100%]
|
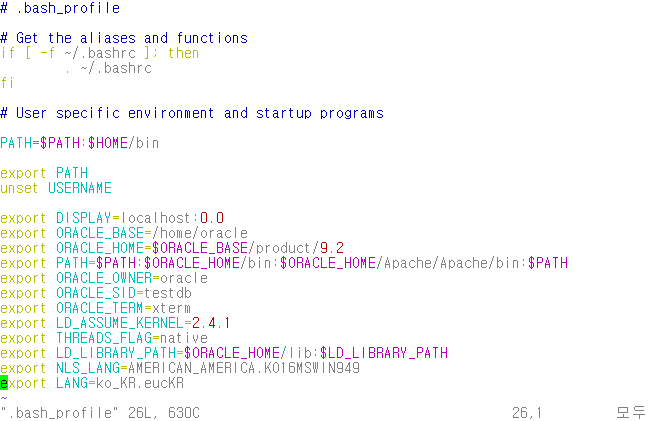
- 오라클 계정의 .bash_profile 파일설정. (기존파일에 아래내용을 추가)
[root@server114 rpm]# chown -R oracle.dba /home/oracle [root@server114 rpm]# su - oracle [oracle@server114 oracle]$ vi .bash_profile export DISPLAY=localhost:0.0 export ORACLE_BASE=/home/oracle export ORACLE_HOME=$ORACLE_BASE/product/9.2 export PATH=$PATH:$ORACLE_HOME/bin:$ORACLE_HOME/Apache/Apache/bin:$PATH export ORACLE_OWNER=oracle export ORACLE_SID=testdb export ORACLE_TERM=xterm export LD_ASSUME_KERNEL=2.4.1 export THREADS_FLAG=native export LD_LIBRARY_PATH=$ORACLE_HOME/lib:$LD_LIBRARY_PATH export NLS_LANG=AMERICAN_AMERICA.KO16MSWIN949 export LANG=ko_KR.eucKR
|
- bash_profile 수정완료후 root계정으로 su - 해서 9204 압축풀고 패치실행
[root@server114 root]# [root@server114 root]# cd /home/oracle/install/patch [root@server114 patch]# ls 9i_opatch_p6880880_101000_LINUX.zip p3238244_9204_LINUX.zip p3006854_9204_LINUX.zip register97.hwp [root@server114 patch]# unzip p3006854_9204_LINUX.zip Archive: p3006854_9204_LINUX.zip creating: 3006854/ inflating: 3006854/rhel3_pre_install.sh inflating: 3006854/README.txt [root@server114 patch]# ls 3006854 p3006854_9204_LINUX.zip register97.hwp 9i_opatch_p6880880_101000_LINUX.zip p3238244_9204_LINUX.zip [root@server114 patch]# cd 3006854 [root@server114 3006854]# ls README.txt rhel3_pre_install.sh [root@server114 3006854]# sh rhel3_pre_install.sh Applying patch... Ensuring permissions are correctly set... Done. Patch successfully applied |
- oraInst.loc 파일생성 (설치될 s/w log파일 저장위치를 지정)
[root@server114 oracle]# vi /etc/oraInst.loc inventory_loc=/home/oracle/oraInventory inst_group=dba [root@server114 oracle]# chown -R oracle.dba /etc/oraInst.loc |
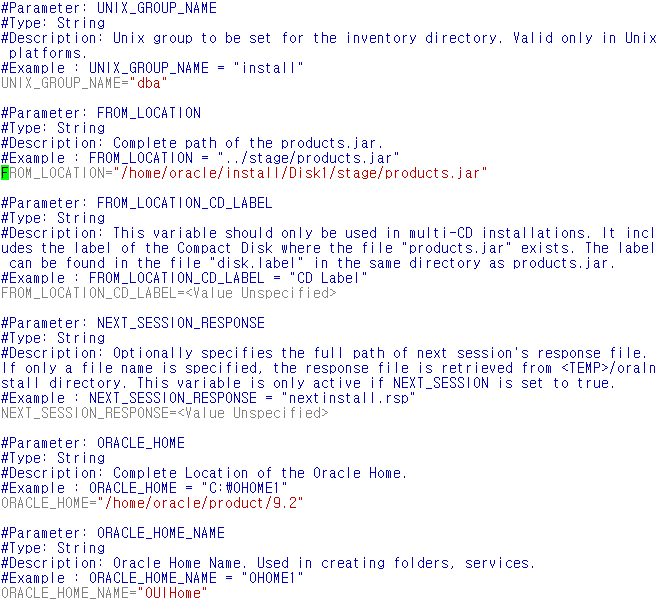
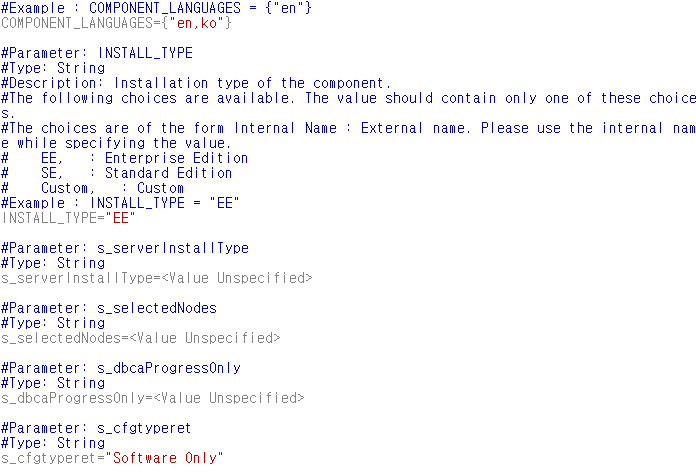
- response 파일(enterprise.rsp) 내용수정
[root@server114 oracle]# vi /home/oracle/install/Disk1/response/enterprise.rsp // 아래의 내용 찾아서 수정 UNIX_GROUP_NAME="dba" ORACLE_HOME="/home/oracle/product/9.2" ORACLE_HOME_NAME="OUIHome" COMPONENT_LANGUAGES={"en,ko"} INSTALL_TYPE="EE" s_cfgtyperet="Software Only"
* Enterprise.rsp 파일을 수정해도 되고 아래와 같이 옵션을 다 적어서 실행해도 똑같음
Ex) ./runInstaller -silent -force -debug FROM_LOCATION="/home/oracle/Disk1/stage/products.jar" ORACLE_HOME= "/home/oracle/Disk1/OraHome" ORACLE_HOME_NAME="OraHome" TOPLEVEL_COMPONENT= '{"oracle.server","9.2.0.4.0"}' INSTALL_TYPE="EE" |
● Engine (9.2.0.4) 생성 - Silent mode
- 오라클계정으로 다시 로그인 한후 ./runInstaller 실행
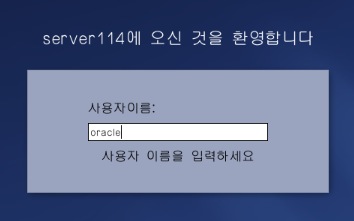
- 엔진설치 디렉토리로 이동후 silent 옵션으로 runInstaller 실행
[oracle@server114 oracle]$ cd /home/oracle/install/Disk1 [oracle@server114 Disk1]$ ./runInstaller -silent -responseFile /home/oracle/install/Disk1/response/enterprise.rsp |
- 엔진 설치시작
위의 화면이 뜨면 엔진설치 성공. |

- 설치 확인
[oracle@server114 Disk1]$ sqlplus /nolog SQL*Plus: Release 9.2.0.4.0 - Production on Wed Feb 25 17:48:23 2015 Copyright (c) 1982, 2002, Oracle Corporation. All rights reserved. SQL> |
● Engine (9.2.0.8) 패치
- 패치파일 디렉토리로 이동후 압축해제
[oracle@server114 Disk1]$ cd /home/oracle/install/patchset [oracle@server114 patchset]$ unzip p4547809_92080_LINUX.zip |
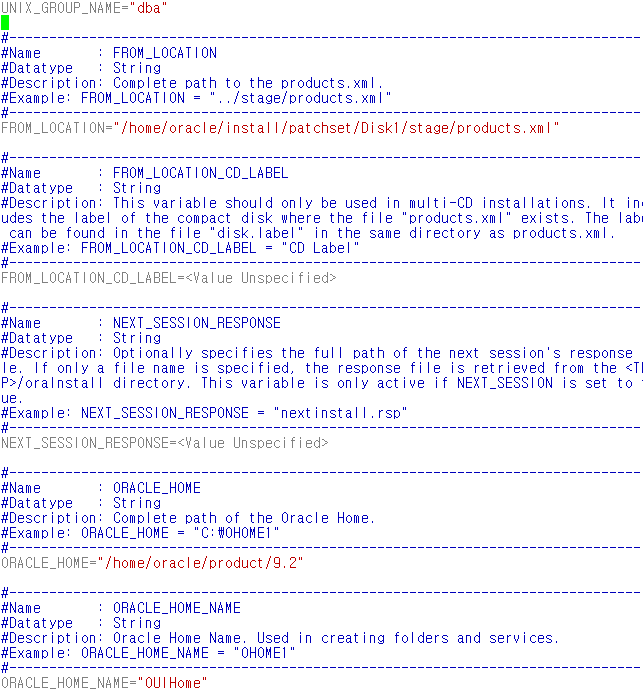
- response 파일(patchset.rsp) 내용수정
[oracle@server114 patchset]$ cd /home/oracle/install/patchset/Disk1/response/ [oracle@server114 response]$ ll 합계 16 -rwxr-xr-x 1 oracle dba 15971 8월 20 2006 patchset.rsp [oracle@server114 response]$ vi patchset.rsp UNIX_GROUP_NAME="dba" FROM_LOCATION="/home/oracle/install/patchset/Disk1/stage/products.xml" ORACLE_HOME="/home/oracle/product/9.2" ORACLE_HOME_NAME="OUIHome"
|
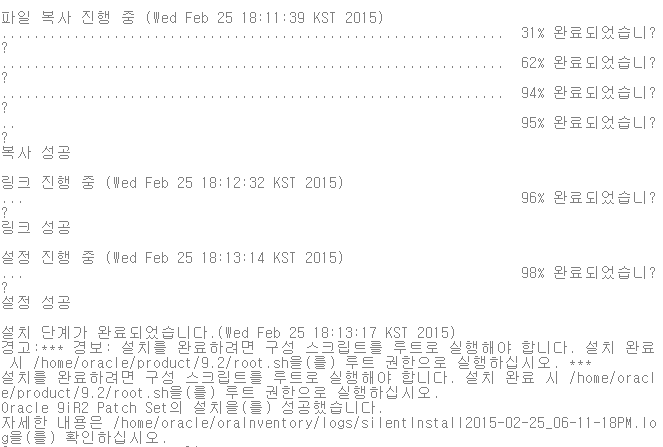
- 엔진 패치
[oracle@server114 response]$ cd /home/oracle/install/patchset/Disk1 [oracle@server114 Disk1]$ ./runInstaller -silent -responseFile /home/oracle/install/patchset/Disk1/response/patchset.rsp |
- 패치완료 -> root로 스크립트 실행
[oracle@server114 Disk1]$ su - Password: [root@server114 root]# /home/oracle/product/9.2/root.sh Running Oracle9 root.sh script... \nThe following environment variables are set as: ORACLE_OWNER= oracle ORACLE_HOME= /home/oracle/product/9.2 Enter the full pathname of the local bin directory: [/usr/local/bin]: Copying dbhome to /usr/local/bin ... Copying oraenv to /usr/local/bin ... Copying coraenv to /usr/local/bin ... \nCreating /etc/oratab file... Adding entry to /etc/oratab file... Entries will be added to the /etc/oratab file as needed by Database Configuration Assistant when a database is created Finished running generic part of root.sh script. Now product-specific root actions will be performed. [root@server114 root]# |
- 리스너구성(netca) 실행
login as: oracle oracle@192.168.15.114's password: [oracle@server114 oracle]$ cd /home/oracle/product/9.2/bin [oracle@server114 bin]$ [oracle@server114 bin]$ ./netca /silent /responseFile /home/oracle/install/Disk1/response/netca.rsp 명령줄 인수 분석: 매개변수 "silent" = true 매개변수 "responsefile" = /home/oracle/install/Disk1/response/netca.rsp 명령줄 인수 분석을 완료했습니다. Oracle Net Service 구성: 프로파일 구성이 완료되었습니다. Oracle Net 리스너 시작: 실행 중인 리스너 제어: /home/oracle/product/9.2/bin/lsnrctl start LISTENER 리스너 제어가 완료되었습니다. 리스너가 성공적으로 시작되었습니다. 리스너 구성이 완료되었습니다. 기본 로컬 이름 지정 구성을 완료했습니다. Oracle Net Service 구성을 성공했습니다. 종료 코드는 다음과 같습니다. 0 // 종료코드가 0이면 리스너가 정상적으로 구성됨 |
● DB생성 (DBCA) : DataBase Configuration Assistant
- response 파일(dbca.rsp) 내용수정
[oracle@server114 bin]$ cd /home/oracle/install/Disk1/response/ [oracle@server114 response]$ [oracle@server114 response]$ vi dbca.rsp CREATE_TYPE="createDatabase" GDBNAME="testdb" SID="testdb" TEMPLATENAME="New Database" CHATACTERSET="KO16MSWIN949" NATIONALCHARACTERSET="UTF8" |
- DBCA 실행
[oracle@server114 response]$cd /home/oracle/product/9.2/bin [oracle@server114 bin]$ ./dbca -silent -responseFile /home/oracle/install/Disk1/response/dbca.rsp
|

- 생성확인
[oracle@server114 bin]$ sqlplus /nolog SQL*Plus: Release 9.2.0.8.0 - Production on Wed Feb 25 20:10:05 2015 Copyright (c) 1982, 2002, Oracle Corporation. All rights reserved. SQL> conn /as sysdba Connected. SQL> select * from v$version; BANNER ---------------------------------------------------------------- Oracle9i Enterprise Edition Release 9.2.0.8.0 - Production PL/SQL Release 9.2.0.8.0 - Production CORE 9.2.0.8.0 Production TNS for Linux: Version 9.2.0.8.0 - Production NLSRTL Version 9.2.0.8.0 - Production SQL> shutdown Database closed. Database dismounted. ORACLE instance shut down. SQL> conn /as sysdba Connected to an idle instance. SQL> startup ORACLE instance started. Total System Global Area 235999648 bytes Fixed Size 450976 bytes Variable Size 201326592 bytes Database Buffers 33554432 bytes Redo Buffers 667648 bytes Database mounted. Database opened. SQL> select status from v$instance; STATUS ------------ OPEN SQL> |
'Oracle > install' 카테고리의 다른 글
| [Single] RHEL5 + ORACLE 11g(11.2.0.1) 설치(OUI) (0) | 2016.03.17 |
|---|---|
| [Single] RHEL4 + ORACLE 10g 설치(Silent) (0) | 2016.03.17 |
| [Single] RHEL4 + ORACLE 10g(10.2.0.1) > (10.2.0.4) 설치(OUI) (0) | 2016.03.17 |
| [Single] RHEL3 + ORACLE 9i(9.2.0.4) > (9.2.0.7) > (9.2.0.8) 설치(OUI) (0) | 2016.03.17 |
| [Single] RHEL3 + ORACLE 8i(8.1.7.0) 설치(OUI) (0) | 2016.03.17 |